

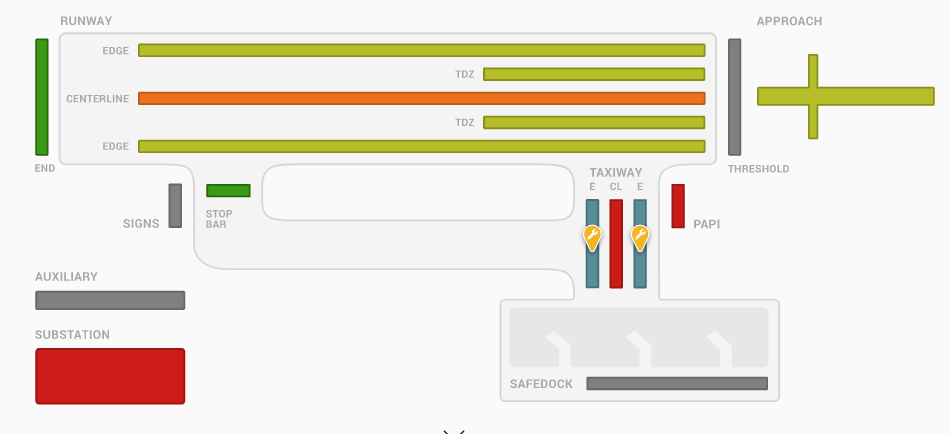
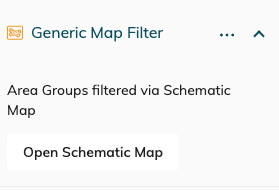
The generic map is a visualization of your airport when you have no geographic location reference for your assets (in a universal format) or choose not to enable the satellite view in your instance. The mimic is a dynamic representation of each major area group that is related to AGL and GATE.
The colour of the areagroups represents the preventive maintenance status that is most urgent for any of the assets included in that area group. The assets considered are influenced by the active filters.
ie: if an area group is red then 1 or more of the ( filtered) assets have a preventive maintenance task that is overdue. If an area group is green then all (filtered) assets are in a good preventive maintenance state asset.
A faulty flag is put on the area group when 1 or more assets are flagged faulty in that (filtered) area groups' assets.
An area group is a combination of different (sub-) area's that that mostly represent a function group on 1 or multiple runways. ie: The light function TDZ (Touchdown-zone) of Runway 09L and TDZ of Runway 28R are grouped together in the area group TDZ on the Generic Map.
If you have multiple runways/taxiways then those can be filtered by use of the (sub-) area filter menu on the left. The condition of the area groups will always be taken from the combined condition of the assets that are included in the area group.
The generic map allows you to
Spot critical maintenance tasks that are to be performed
Spot Area's where maintenance should be scheduled
Spot Location of Faulty assets
Select a area group in order to further filter to create a workorder or perform a task on one or multiple of it's assets.
Multiple area groups can be (de-)selected by use of the CTRL / ⌘ key or by use of the control bar on top of the map. 
Assigning Assets to Area groups
In order to visualize your Airport asset data with the generic map, you need to define which are located in which "areagroup" (aka: Light/Functiongroup ; ie: Rwy CL or TDZ ). To do so, we can assign "sub-area's" to these Area groups through the Generic map assignment editor, which can be found under Settings → Asset Data → Generic map assignment editor. Alternatively, it can be found in the burger menu of the asset list when the Generic map is activated.
To perform the assignment
-
Select the (Sub-)Area(s) you want to assign in the right panel
-
Select the area group where you want the selected (Sub-)Area(s) to be assigend too
-
hit the Assign Button.
You can assign (Sub)Areas to different Areagroups - but in order to clearly see which Sub-areas are left to be assigned to a visualisatin of the Generic map, you can toggle the "Hide already assigned (Sub-)Areas.
You can undo/redo and reset your operations in case of faulty manipulations.
If you think that certain main- and/or Subareas are missing, review your asset list and upload new or modified asset data first (Asset Management - import/export). You can then continue your generic map assignments with the updated asset data.
The Asset list
Working with individual assets
Together with the Generic map the asset list is activated in order for you to select or manipulate individual assets from the activated filters or area groups.
The asset list can be hidden/show by use of the chevron 
Whenever an asset is selected or focused then the according area group will be surrounded by a blue border and the assets' details are shown on the right side.
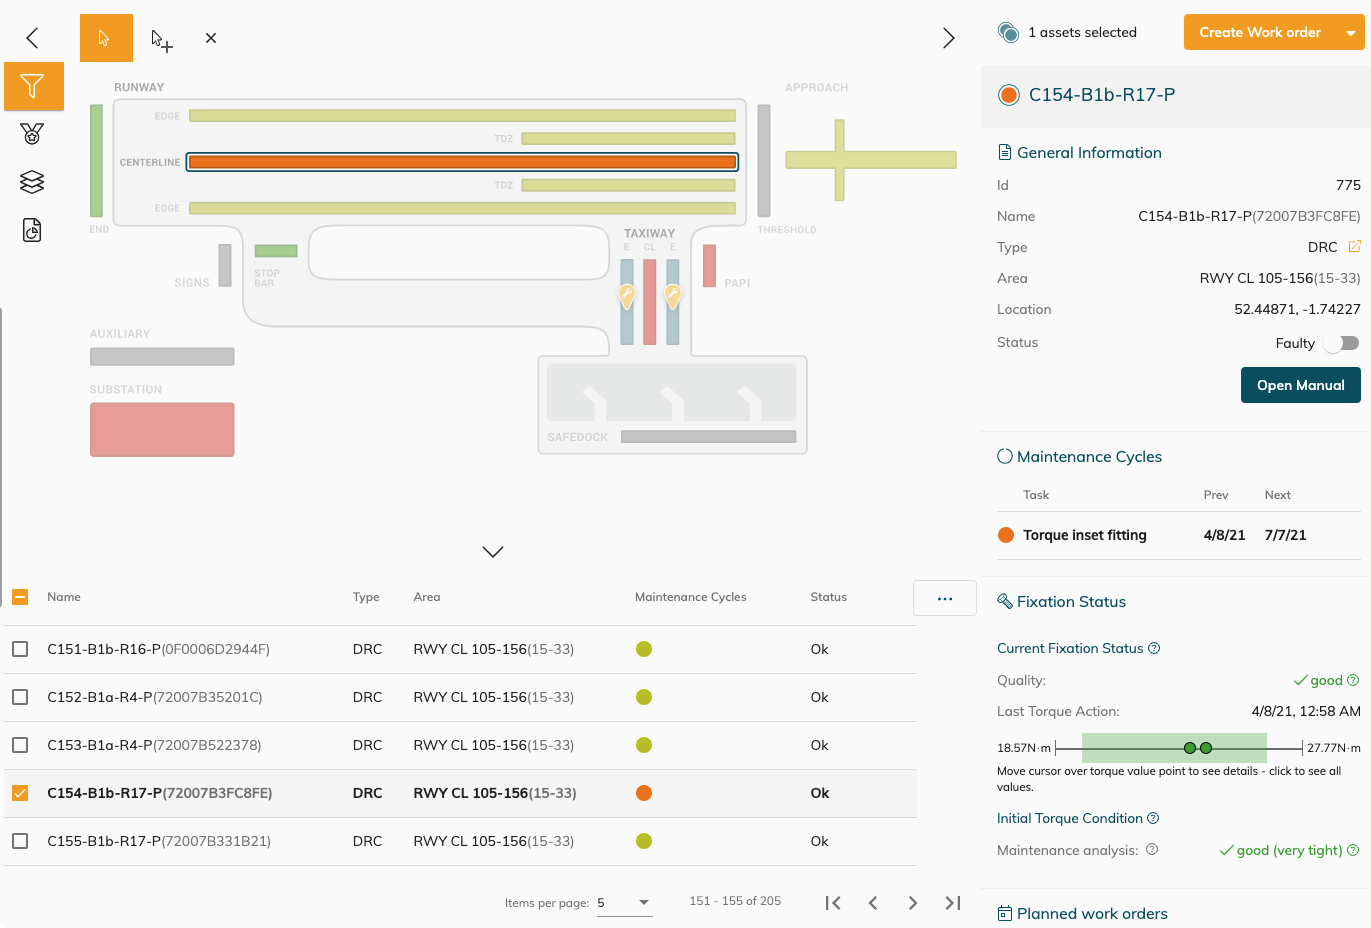
Activating filters or selecting/deselecting area groups will change the assets contained in the asset list.
You can select one or multiple assets in the asset list in order to create an action on them (Create workorder / Register maintenance / Tag assets as (un-)Faulty)
See Web maintenance registration on how to perform maintenance in the web - in a similar way as if you would have the satellite add-on view active.
When you have multiple assets selected from different area groups - the area groups of the selected assets will be surrounded with a border line (of the same colour as the area groups' status)
Data columns
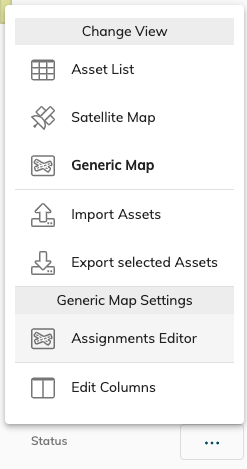
The asset list can visualise some asset data properties in order for you to make the correct manipulations. You can choose the data columns visible from the burger menu 
You can sort, (de-)select columns for the visibility in the asset list.
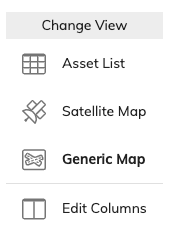
The burger menu also allows you to quickly switch between the different map types , if you have the Satellite map activated on your instance, or to see the Asset list in full-screen!
If you have activated a area group in the Generic map and returning to Satellite view then your area group selection will still be active - you will be informed about it here:
You can remove the area group selection by clearing the filters with 
If you have activated a a filter in the Satellite view and then move to the Generic map, then the filter and focused asset ( if one is selected) will also remain active !
Having the satellite view is required for some advanced features in CORTEX Service such as Photometric and CORTEX Service on-site!