

This page explains how to:
-
Access the Public API Documentation
-
Configure authorization for users
-
Set up ID mapping between Cortex Service and external systems
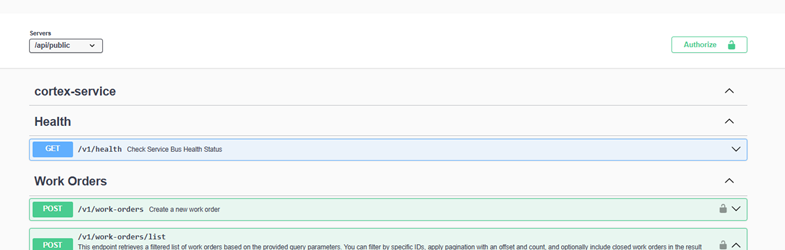
1. Public API Documentation Page 📘
-
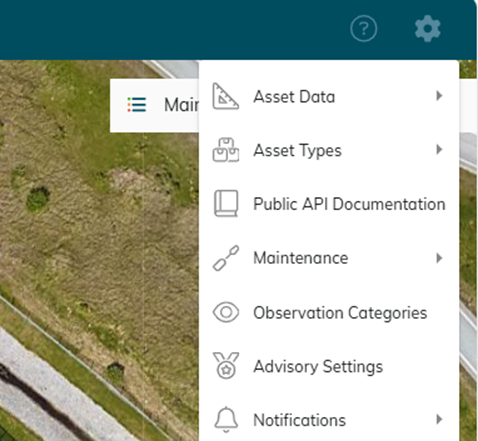
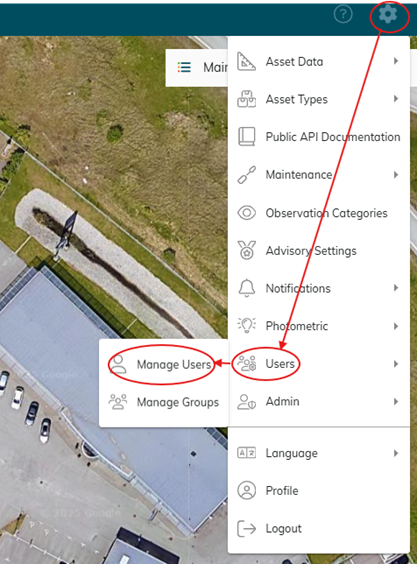
You can access the Public API Documentation directly from your Cortex Service workspace:
-
Go to Settings
-
Select Public API Documentation
-
-
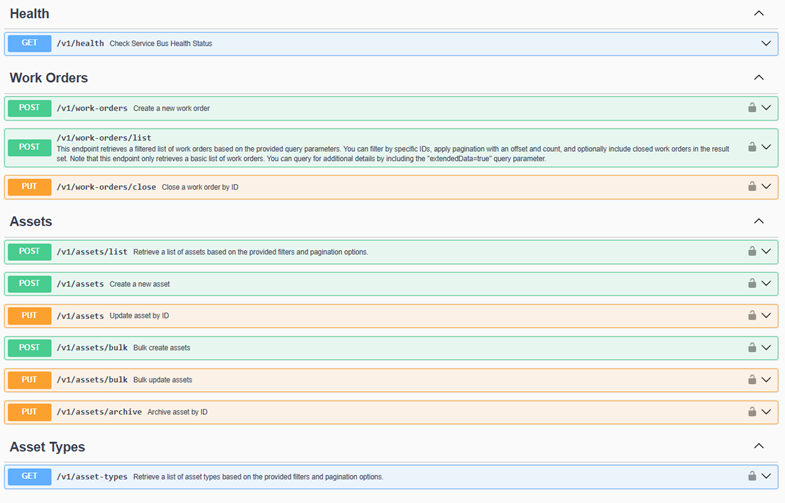
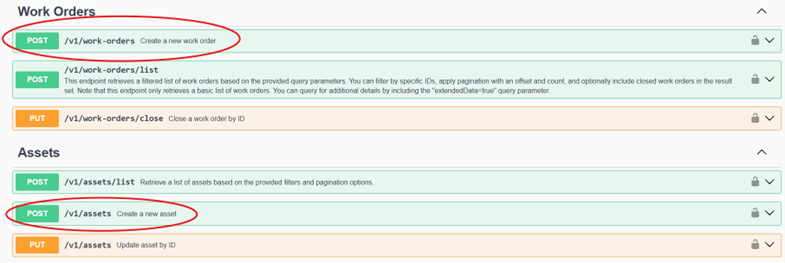
On this documentation page, you’ll find a comprehensive list of all available request types that can be used with the API.
-
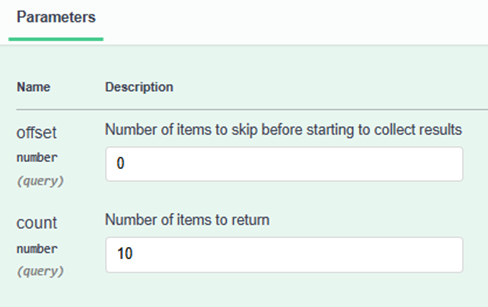
For each request, the documentation provides:
-
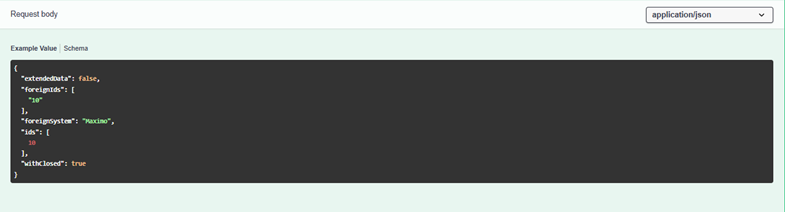
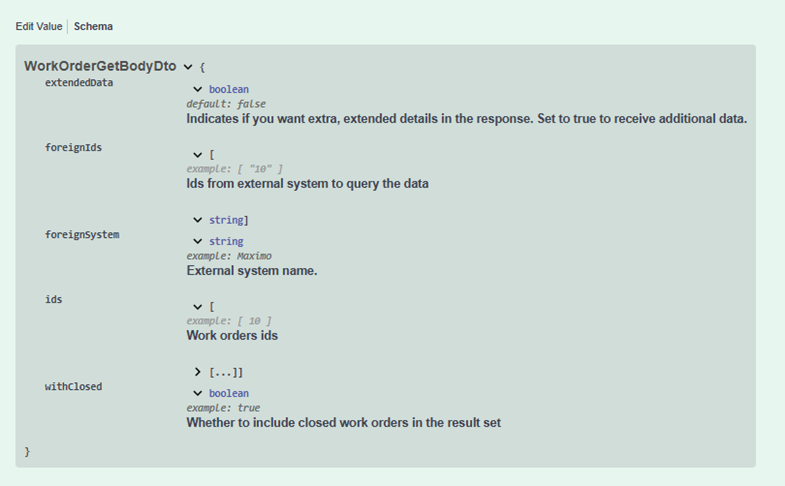
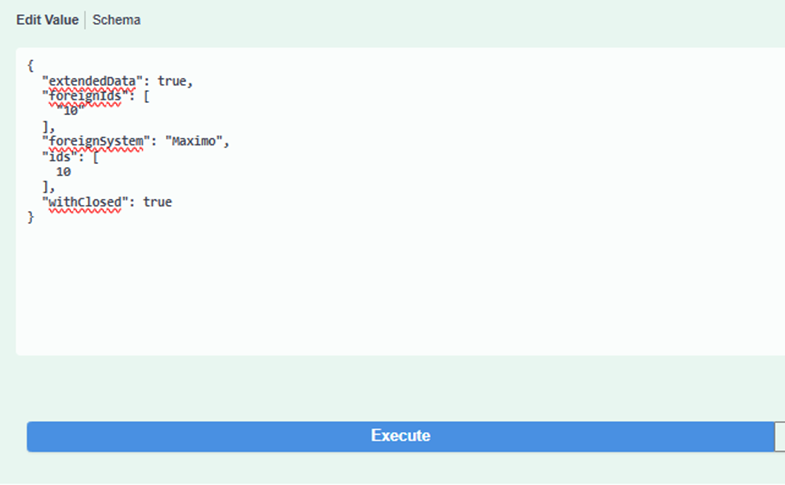
An example request body (JSON format)
-
The required schema for making the call
-
Note: The example data shown is not real data. You can, however, test the requests using your own actual values.
-
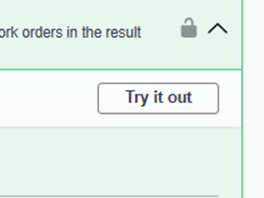
To try out any of the requests, you must first add an Authorization header using your Cortex Service credentials.
For more details on credentials and permissions, see Section 2 – Authorization.
-
You can:
-
Experiment with different payload structures and parameters
-
Send test requests directly from the documentation page
-
View the various responses returned by the API in real time
-
2. Authorization 🔐
To allow a user to access the Public API with their own credentials, the following steps are required.
Assigning the Required Permission
-
Ensure the user has the correct permission assigned to their account:
-
Open the Manage Users page
-
Go to View/Edit User
-
Check the Effective Permissions tab
-
Verify that the required permission for Public API access is assigned
-
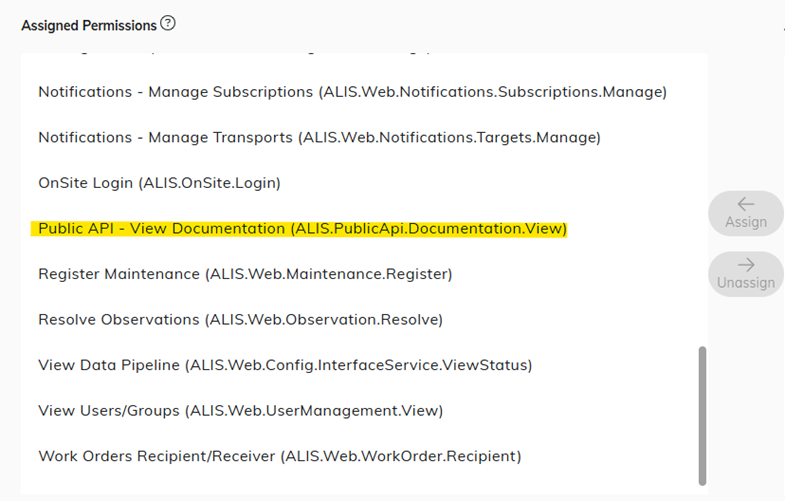
If the permission is not present, please contact your maintenance manager so they can add the necessary permission for you.
Setting User Credentials
-
On the same Manage Users page:
-
Open the Credentials tab
-
Set the user’s password
-
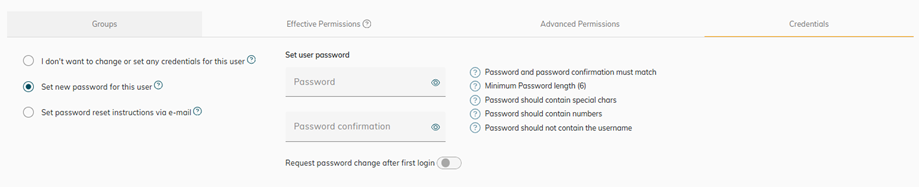
This enables Basic Authentication with a username and password for the API.
3. Mapping IDs from Cortex Service 🔗
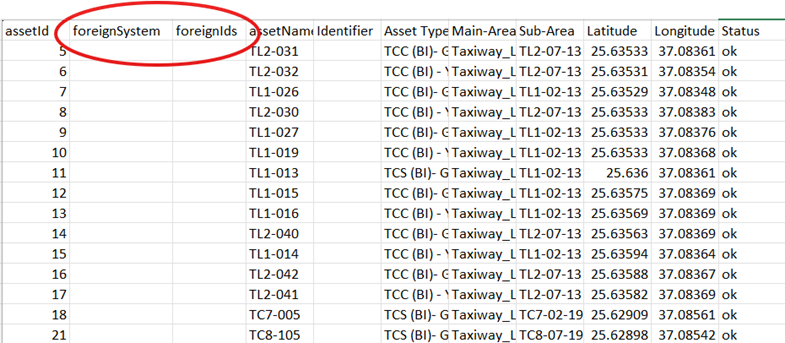
Cortex Service provides a built-in Mapping Table that allows a mappiing of asset IDs and work order IDs to IDs from other systems.
Initial ID Mapping (One-Time Setup)
-
For the initial mapping, please complete the following Excel templates provided by the CORTEX Service team:
-
CORTEX Service Asset Overview
-
CORTEX Service WorkOrder List Summary
-
-
In each Excel sheet:
-
Enter the name of your system in the
foreignSystemcolumn -
Enter the corresponding asset or work order ID from your system in the
foreignIdcolumn -
Ensure these map correctly to the assets and work orders that already exist in Cortex Service
-
-
Once the Excel sheets are completed, send them to us.
We will upload the data into the Mapping Table, after which you can begin integration testing and development.
Note: Any assets and work orders added directly through the REST API will be automatically mapped in the table.
Therefore, the Excel-based mapping is required only once for the initial setup. ✅
4. Support & Contact ☎️
If you have any questions or need assistance with:
-
API documentation
-
Authorization and permissions
-
Mapping configuration or data upload
please contact us through our Jira Service Management portal:
https://adbsafegate.atlassian.net/servicedesk/customer/portal/11